Dongguan Hongyi Electric Products Co., Ltd.



MPPT Solar Charge Controller: How It Works and How to Choose the Right One
Learn how maximum power point tracking improves solar energy harvesting, how to match a controller with solar panels and batteries, and what to check before selecting an MPPT solar charge controller for an off-grid, backup, mobile, residential, or commercial power system.
Better Energy Harvesting Starts with Correct System Matching. A practical guide for homeowners, installers, distributors, system integrators, project contractors, and OEM buyers evaluating solar charge controller technology.
Why the Solar Charge Controller Matters
Solar panels do not produce one fixed voltage and one fixed current throughout the day. Their output changes with solar irradiance, panel temperature, partial shading, installation angle, wiring configuration, and the battery’s state of charge. A solar charge controller sits between the photovoltaic array and the battery bank to regulate this changing energy safely.
The right controller does more than prevent battery overcharging. It helps the photovoltaic array operate at a useful voltage, controls the battery-charging process, protects connected equipment, and provides important operating information. For many residential, agricultural, telecom, RV, marine, and remote power applications, an MPPT solar charge controller can harvest more usable energy than a basic PWM controller when the system is correctly designed.
However, purchasing a controller simply because it carries an “MPPT” label is not enough. The rated current, maximum PV input voltage, supported battery voltage, battery chemistry, charging profile, communication interface, environmental rating, thermal design, and protection functions must all match the real application.
This guide explains how MPPT technology works and provides a practical selection process. It also covers installation, troubleshooting, supplier evaluation, and the questions buyers should ask before placing an order.
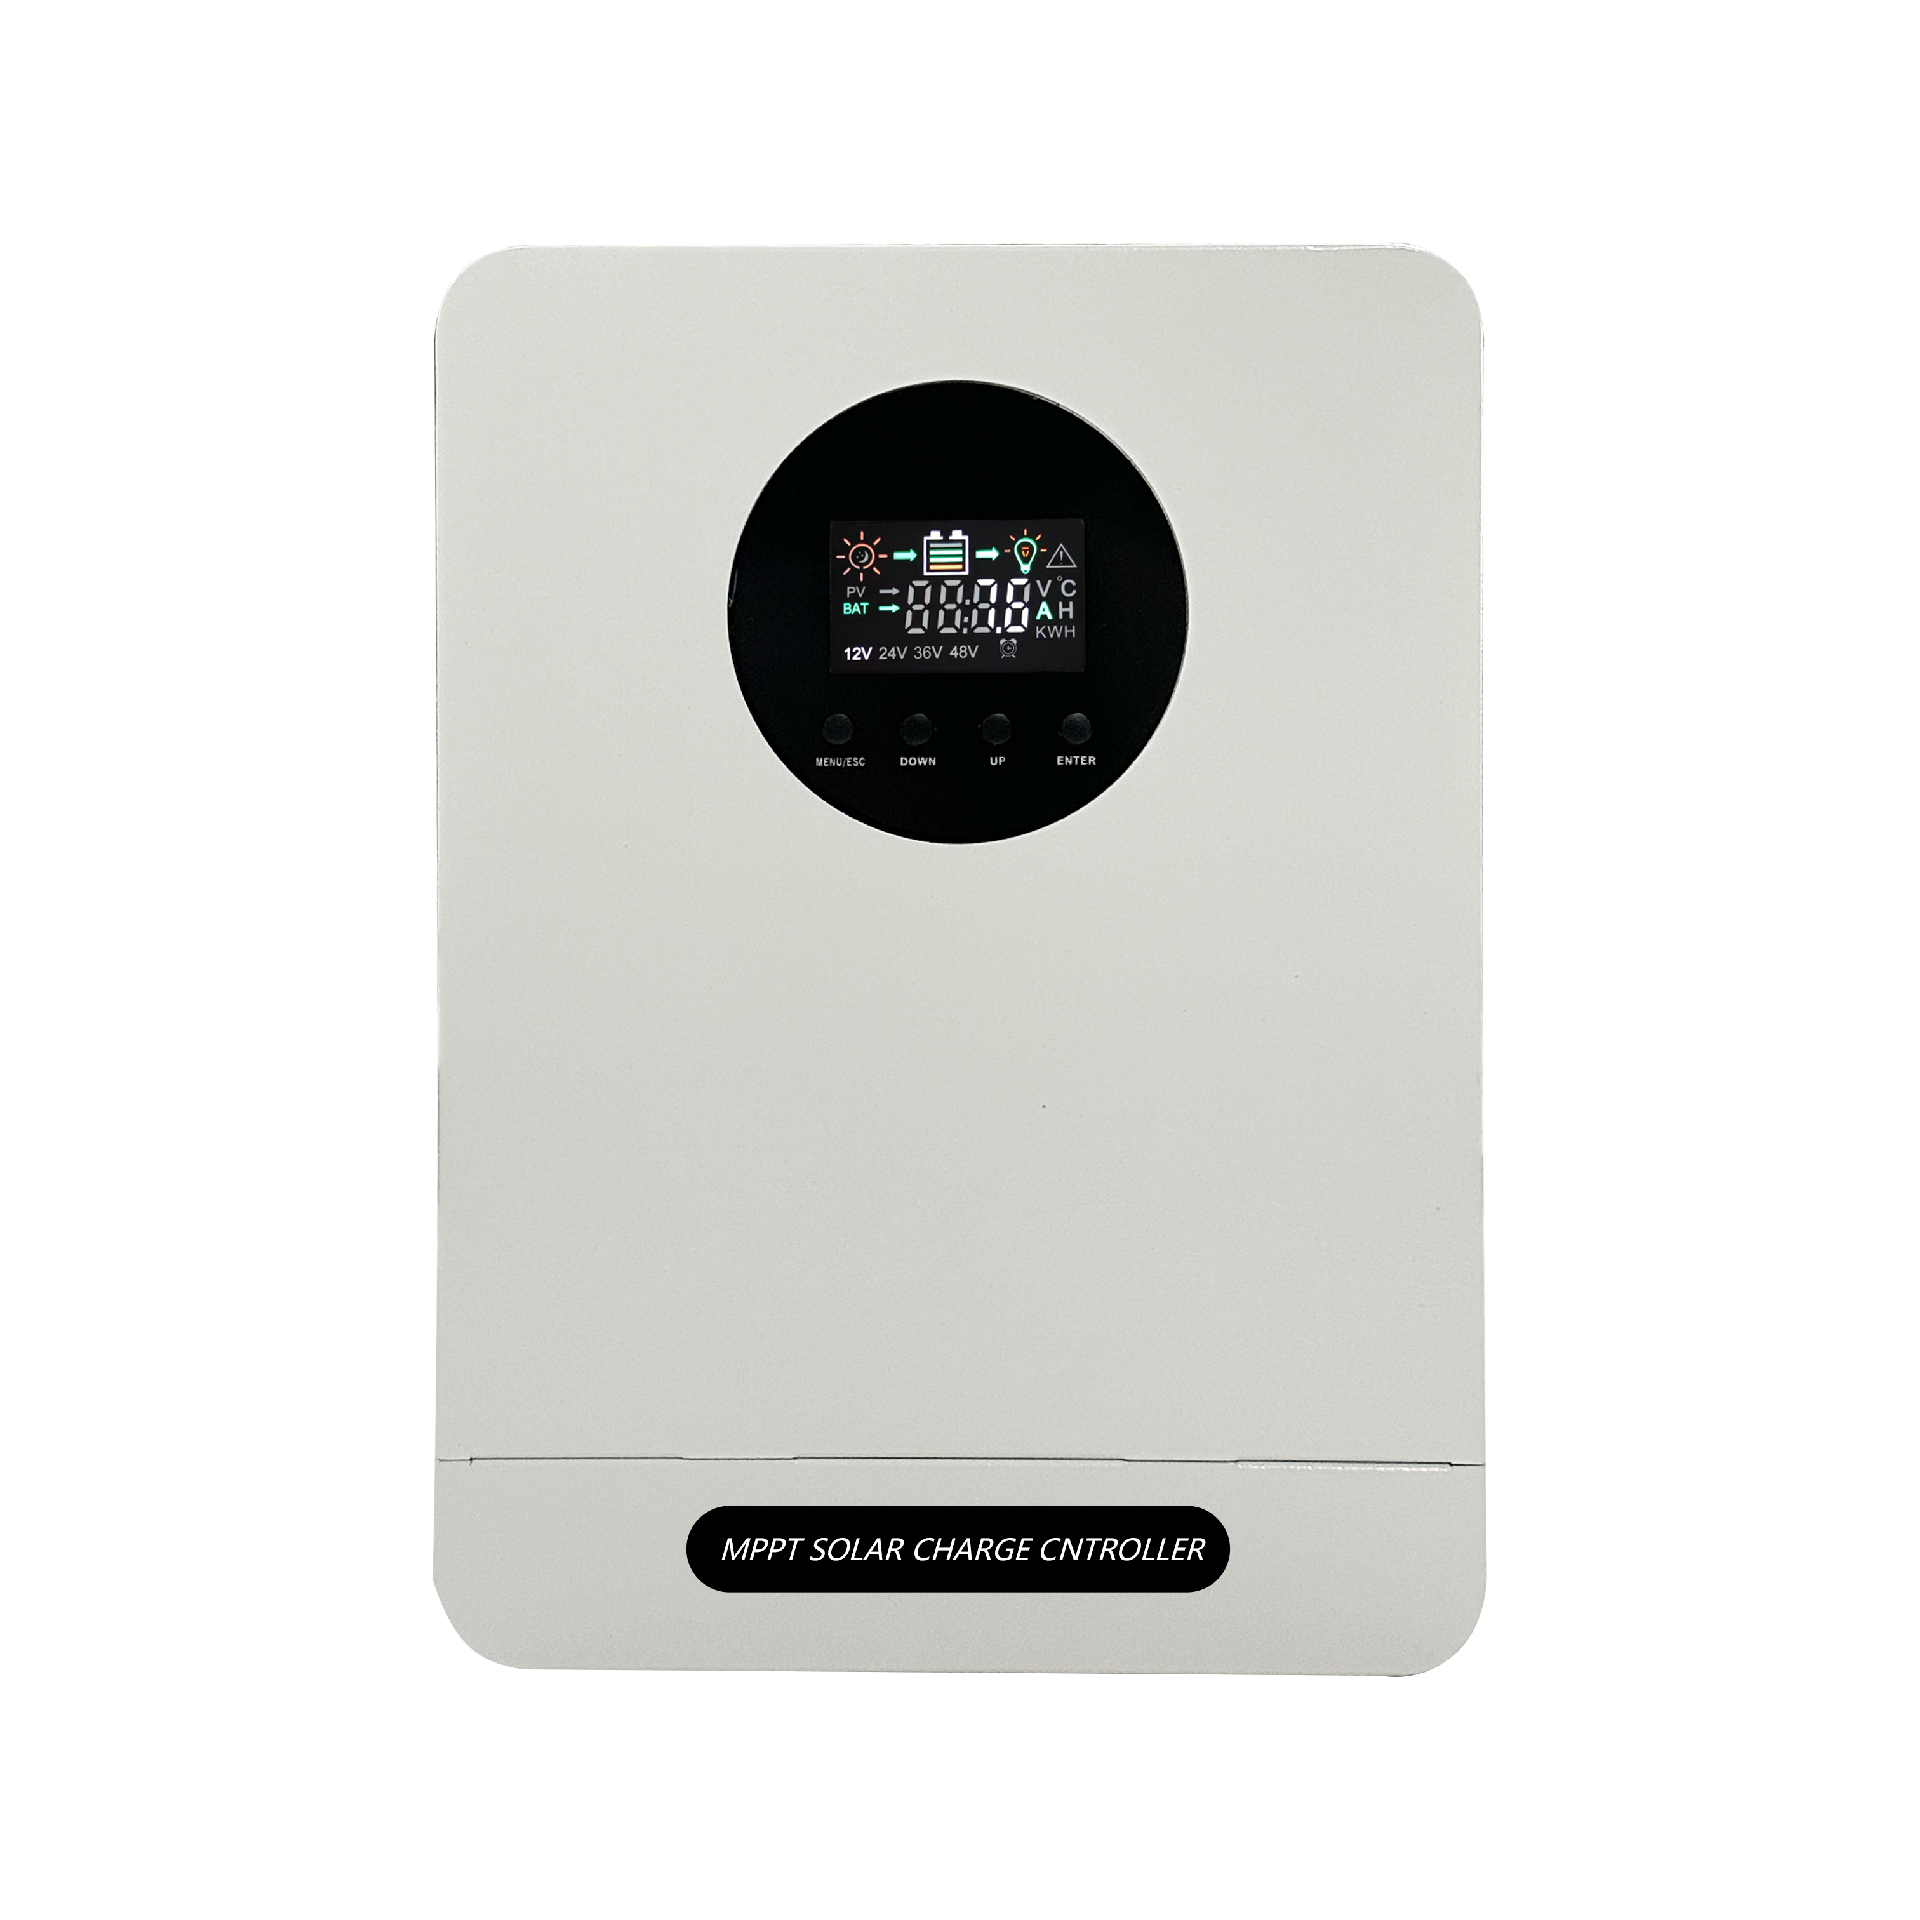
How an MPPT Solar Charge Controller Works
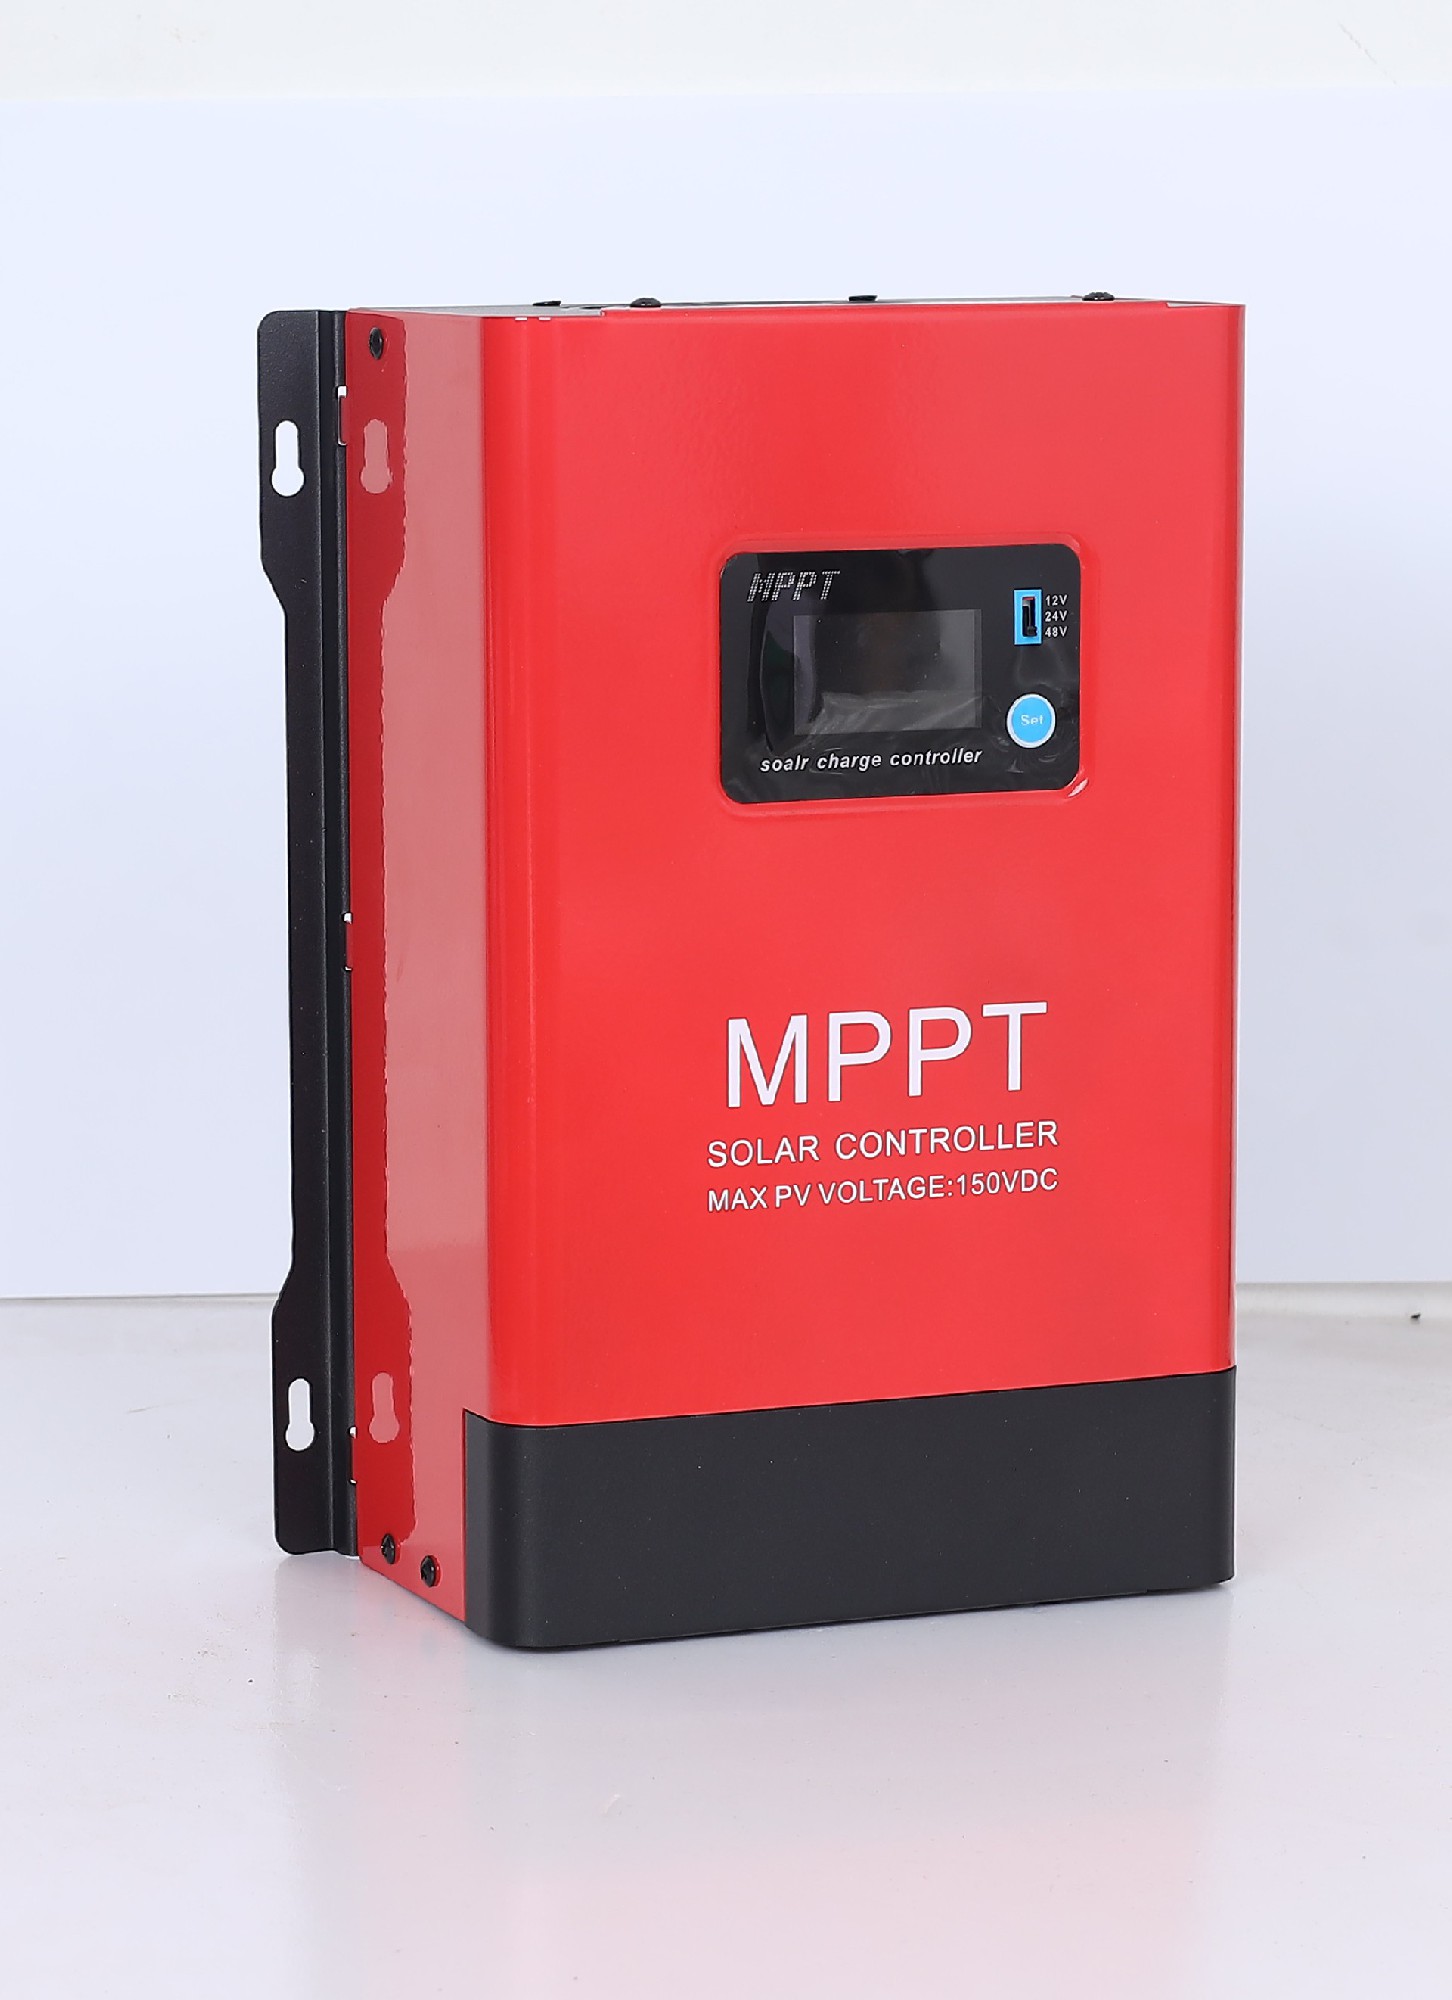
MPPT stands for Maximum Power Point Tracking. An MPPT controller continuously analyzes the voltage and current available from the solar array and looks for the operating point where the panels can deliver the greatest available power under the current conditions.
1. It Monitors the Solar Array
Every photovoltaic array has a changing current-voltage curve. The controller samples the electrical behavior of the array and identifies a useful power point. When sunlight, shading, temperature, or battery demand changes, the controller adjusts its operating point again.
2. It Converts the Voltage
An internal DC-to-DC conversion stage allows the solar array to operate at a voltage that may be higher than the battery voltage. The controller converts the available input power into a controlled voltage and current suitable for battery charging.
3. It Manages Battery Charging
Most quality controllers use charging stages such as bulk, absorption, and float. The actual process depends on the controller model, battery chemistry, selected settings, temperature, and the recommendations of the battery manufacturer.
Solar Panels
Variable PV voltage and current
MPPT Tracking
Locates the useful power point
DC Conversion
Matches the array to the battery
Battery Bank
Receives regulated charging
System Loads
Use stored electrical energy
MPPT vs PWM Solar Charge Controller
PWM and MPPT controllers can both regulate battery charging, but they use different operating methods. The better choice depends on the solar panel voltage, battery voltage, climate, installation space, system size, expected performance, and project budget.
| Evaluation Point | MPPT Controller | PWM Controller |
|---|---|---|
| Operating method | Tracks the array’s maximum power point and converts voltage through a DC-to-DC stage. | Connects the panel more directly to the battery-charging circuit and regulates the charging process. |
| Panel and battery voltage | Can work with a higher PV operating voltage when all model-specific input limits are respected. | Normally requires closer matching between the nominal panel voltage and the battery voltage. |
| Energy harvesting | Can provide better energy utilization in cold conditions, changing sunlight, or systems with a significant voltage difference. | Can be practical for small and simple systems where the panel and battery voltages are closely matched. |
| Array configuration | May support more flexible series and parallel layouts, subject to the controller’s voltage, current, and power limits. | Usually provides fewer options for using a higher-voltage photovoltaic array. |
| Cost and complexity | Uses more advanced electronics and will generally have a higher initial cost. | Uses a simpler design and can be economical for basic, lower-power applications. |
| Typical buyer | Suitable for buyers focused on energy harvesting, design flexibility, monitoring, or medium-to-large systems. | Suitable for buyers who need a simple controller for a small and correctly matched system. |
Selection reminder: Do not choose a controller from the word “MPPT” alone. Check the complete electrical specification, battery compatibility, thermal performance, protection functions, communication options, warranty terms, and installation requirements.
How to Size an MPPT Solar Charge Controller
Correct sizing protects the controller and helps the photovoltaic array operate as intended. Before selecting a product, collect the electrical information from the solar panels, battery bank, and expected system configuration. Do not rely only on the total solar panel wattage shown on a quotation.
Step 1: Confirm the Battery Bank Voltage
Identify whether the system uses a 12V, 24V, 36V, 48V, or another supported battery bank. Nominal battery voltage is not the same as the actual charging voltage. The selected controller must support the battery voltage and the charging range required by the battery manufacturer.
Some controllers automatically detect battery voltage, while others require manual configuration. Automatic detection should still be verified during commissioning because incorrect wiring, a deeply discharged battery, or incompatible equipment may prevent correct detection.
Step 2: Calculate the Expected Charging Current
A basic planning calculation divides the total rated photovoltaic power by the expected battery-charging voltage. A design margin should then be considered for operating variation, measurement tolerance, temperature, future expansion, and the manufacturer’s sizing rules.
Estimated charging current ≈ Total PV power ÷ Battery charging voltage
Simple Planning Example
Assume a solar array is rated at 2,000W and the battery system charges at approximately 48V. The basic calculation is 2,000 divided by 48, which equals approximately 41.7A. A designer can then evaluate an MPPT controller with a suitable continuous charging-current rating and an appropriate margin.
This simplified calculation is useful for initial planning, but it does not replace the controller manufacturer’s sizing instructions. The array voltage, array current, temperature correction, battery charging limits, cable size, and protection devices must also be checked.
Step 3: Check the Maximum PV Open-Circuit Voltage
The open-circuit voltage, commonly shown as Voc on a solar panel datasheet, is one of the most important values in controller selection. When panels are connected in series, their voltages are added together. The complete string voltage must remain below the controller’s maximum PV input voltage.
Cold weather can increase solar panel voltage. A string that appears safe under standard test conditions may exceed the controller limit on a cold and bright morning. Apply the required temperature correction and follow local design standards. Exceeding the permitted input voltage can damage the controller and may not be covered by the product warranty.
Step 4: Check PV Current and Array Configuration
Review the panel short-circuit current, usually shown as Isc, as well as the number of parallel strings. Parallel connections increase current, while series connections increase voltage. Confirm that the final array remains within the controller’s maximum input-current and recommended PV-power limits.
Also consider fuses, breakers, combiner boxes, cable length, conductor size, connector compatibility, voltage drop, and isolation. A qualified designer should verify commercial or high-voltage arrays before installation.
Step 5: Match the Battery Chemistry
Lead-acid, flooded lead-acid, AGM, gel, lithium iron phosphate, and other battery technologies can require different charging behavior. Check whether the controller supports the selected chemistry and whether charging voltages, duration, temperature compensation, equalization, and low-temperature charging behavior can be configured correctly.
When a lithium battery includes a battery management system, verify whether communication with the controller is required or whether the controller can operate safely using a suitable voltage-based charging profile.
What to Look for When Choosing an MPPT Controller
Rated Charging Current
Select a continuous charging-current rating that suits the calculated array output and battery voltage. Confirm whether a published value is a continuous rating or a temporary peak rating.
Maximum PV Input Voltage
Compare the controller’s maximum input limit with the corrected cold-weather open-circuit voltage of the complete solar panel string. Maintain the margin required by the manufacturer and applicable design rules.
Battery Compatibility
Confirm support for the battery chemistry, charging stages, temperature sensor, low-voltage behavior, equalization settings, and any adjustable parameters required by the battery supplier.
Protection Functions
Depending on the model, useful protections may include reverse polarity, overcurrent, over-temperature, output short circuit, battery overcharge, PV overvoltage, and battery under-voltage protection.
Display and Communication
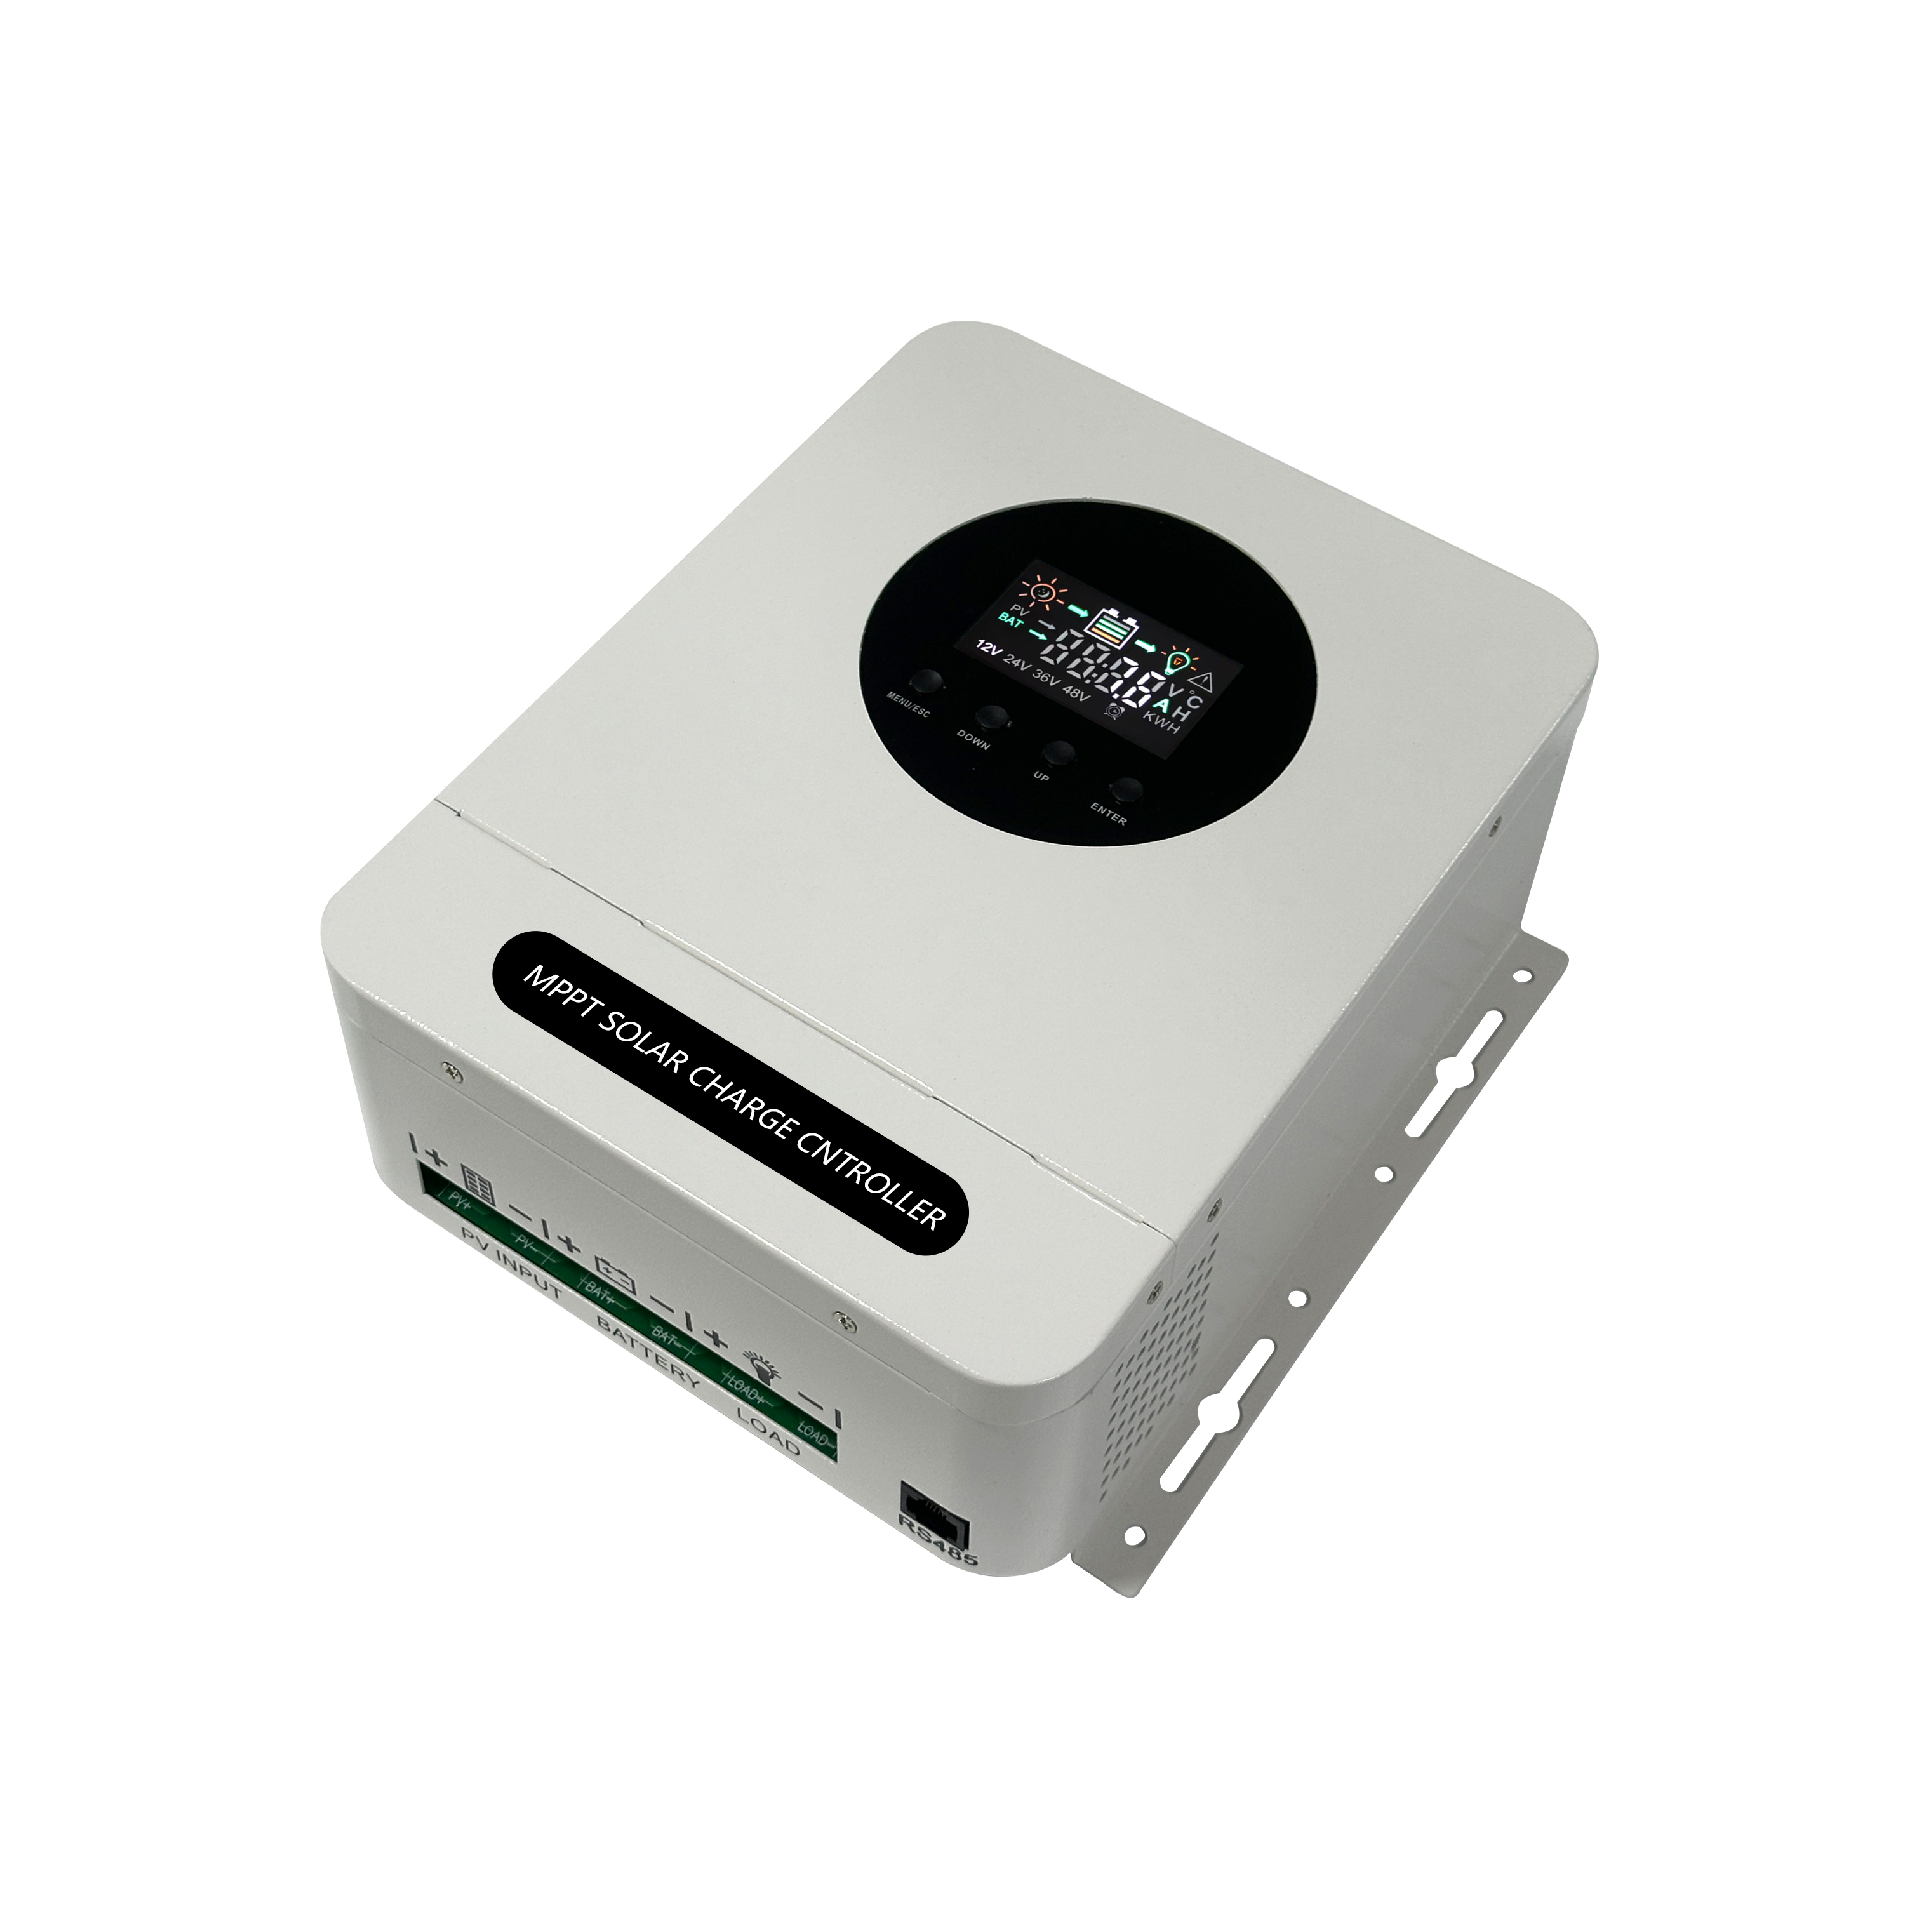
A clear display and communication interfaces such as RS485, CAN, Bluetooth, or another supported method can make commissioning, monitoring, data collection, and maintenance easier.
Thermal and Environmental Design
Review operating temperature, humidity, cooling method, enclosure protection, installation altitude, mounting clearance, and ventilation. An indoor controller should not be installed in an exposed outdoor location.
Product Documentation
A reliable supplier should provide wiring diagrams, terminal definitions, charging parameters, fault codes, recommended cable sizes, installation requirements, troubleshooting guidance, and warranty procedures.
Supplier and OEM Support
Distributors and system integrators should evaluate sample testing, private-label services, packaging, configuration support, production capacity, lead times, spare parts, training, and after-sales communication.
Installation and Commissioning Best Practices
Even a correctly selected MPPT solar charge controller can perform poorly if it is installed incorrectly. Always follow the controller manual, battery instructions, and local electrical requirements. The following process is a general planning guide and not a replacement for qualified electrical work.
Inspect the controller, terminals, cables, fuses, breakers, mounting surface, and ventilation area before making any connection.
Confirm cable polarity with a suitable measuring instrument. Reverse polarity can damage equipment or activate protection functions.
Use conductor sizes and overcurrent protection suitable for the expected current, cable length, installation method, and local requirements.
Install the controller vertically or in the orientation specified by the manufacturer. Maintain the required clearance around ventilation openings and heat sinks.
Connect the battery according to the recommended sequence and confirm that the controller recognizes the correct battery voltage.
Configure the battery chemistry and charging parameters before connecting the photovoltaic array when required by the manual.
Confirm that the measured solar array voltage is below the controller’s permitted maximum input voltage.
Connect the photovoltaic input and observe the charging voltage, charging current, controller temperature, status indicators, and fault information.
Test the system under normal load and record the final configuration for future service and warranty support.
Safety notice: Solar arrays can produce dangerous DC voltage whenever light reaches the panels, even when the inverter or controller appears to be switched off. Use appropriate isolation equipment, personal protective equipment, and qualified installation support for high-voltage or commercial systems.
Common MPPT Solar Charge Controller Problems
| Symptom | Possible Checks | Important Note |
|---|---|---|
| The battery is not charging | Check PV voltage, cable polarity, battery voltage, charging settings, fuses, breakers, loose terminals, and active protection status. | Low sunlight or a fully charged battery may reduce charging current normally. |
| PV voltage is present but current is low | Check shading, dirty panels, loose connectors, damaged wiring, incorrect string configuration, and the battery’s current charging stage. | Compare measurements at the array and controller terminals only when it is safe to do so. |
| The controller reports PV overvoltage | Check the cold-weather open-circuit voltage and determine whether additional panels have been connected in series. | Do not repeatedly reset a controller that is exposed to voltage beyond its published limit. |
| The controller becomes very hot | Inspect ventilation, ambient temperature, cable terminals, mounting clearance, charging current, and nearby heat sources. | Persistent overheating or a burning smell requires immediate isolation and professional inspection. |
| Battery voltage is unstable | Check battery condition, cable resistance, terminal tightness, temperature compensation, charging profile, and connected loads. | A weak or damaged battery can create symptoms that appear to be controller faults. |
| The display or communication connection is unavailable | Check the power supply, communication cable, port settings, device address, supported protocol, and software compatibility. | Confirm that the specific model supports the required monitoring method. |
Common Applications for MPPT Controllers
MPPT technology is useful wherever solar energy must be harvested and delivered to a battery-based DC system. The final controller should always be selected according to the electrical design, installation environment, maintenance capability, and expected operating conditions.
Off-Grid Homes and Cabins
MPPT controllers support battery charging in remote homes, cabins, and backup systems where the daily energy supply depends heavily on available solar power.
Commercial Solar Systems
Installers and integrators can use MPPT technology to create more flexible photovoltaic and battery configurations for small commercial projects.
Telecom and Remote Monitoring
Controllers can provide regulated battery charging for communication equipment, security cameras, sensors, data stations, and remote monitoring systems.
RV, Marine, and Mobile Power
MPPT charging can support mobile energy systems where limited installation area, changing panel temperature, and variable loads affect energy production.
Agricultural Applications
Battery-based solar systems can support lighting, monitoring, fencing, communications, and selected pumping or control applications in remote agricultural areas.
Emergency Backup Power
A properly designed solar and battery system can provide energy for lighting, communication equipment, selected appliances, and essential electronic devices.
Street and Area Lighting
Solar charge controllers can regulate daily charging and controlled load operation in independent lighting systems designed for outdoor environments.
OEM Solar Products
Manufacturers and private-label buyers can integrate suitable controller technology into packaged off-grid, mobile, backup, and energy-storage solutions.
Questions to Ask Before Buying an MPPT Controller
Whether you are purchasing one controller for a personal project or sourcing products for distribution, ask for clear technical and commercial information before making a decision.
What are the maximum PV input voltage, PV input current, charging current, and recommended photovoltaic power?
Which battery chemistries and battery voltages are supported?
Are the charging parameters adjustable for the target battery model?
Does the controller include temperature compensation or an external temperature sensor?
Which electrical and thermal protections are built in?
How are warnings and fault codes displayed?
Which monitoring and communication methods are supported?
What are the operating temperature, humidity, altitude, enclosure, cooling, and mounting requirements?
Are wiring diagrams, user manuals, test information, product labels, and packaging specifications available?
Can the supplier provide sample evaluation, OEM branding, customized packaging, and repeat-order support?
What warranty procedure, technical response time, repair method, and spare-parts support are available?
Which product information can the supplier verify for the specific model being considered?
Planning a Solar Controller Project?
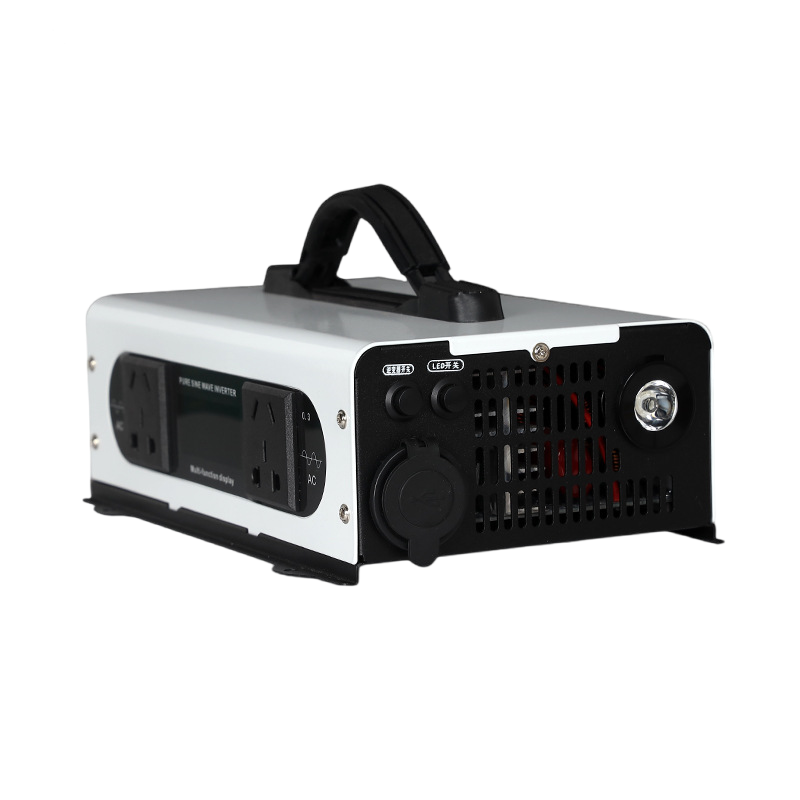
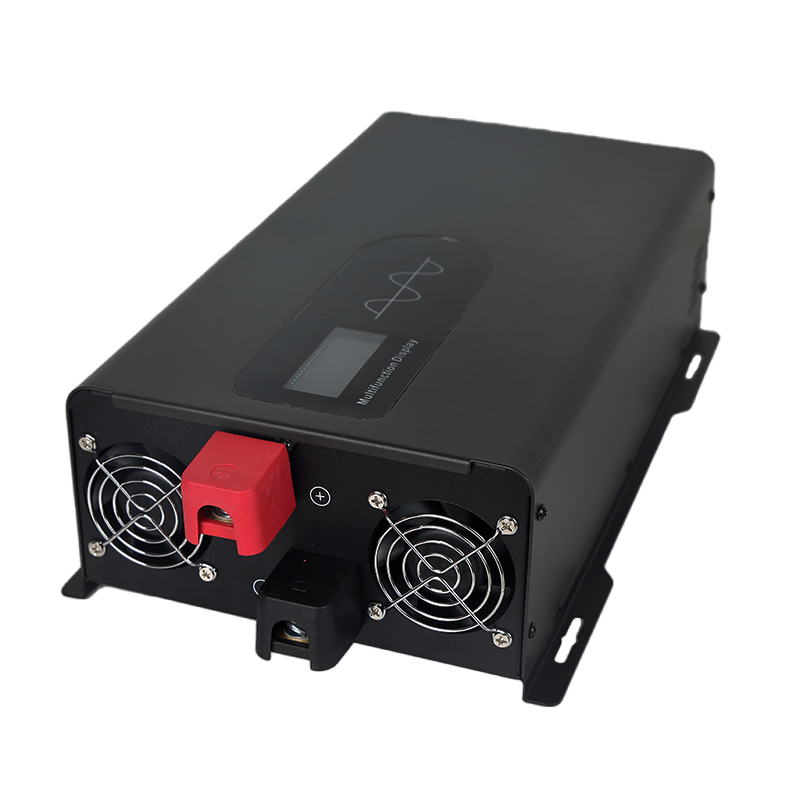
Hysolar Energy supplies solar power products including high-frequency MPPT solar charge controllers, power-frequency MPPT solutions, pure sine wave inverters, and portable power products. Provide your panel configuration, battery voltage, target application, market requirements, and estimated quantity so an appropriate product category can be evaluated.
Frequently Asked Questions
What does MPPT mean in a solar charge controller?
MPPT means Maximum Power Point Tracking. The controller continuously searches for an optimal operating point on the solar panel power curve and converts the available energy into a controlled output for battery charging.
Is an MPPT controller always better than a PWM controller?
Not always. MPPT is often advantageous when panel voltage is higher than battery voltage, when weather conditions change, or when the system needs greater design flexibility. PWM can remain practical for small systems with closely matched panel and battery voltages.
Can an MPPT controller charge a lithium battery?
Some models support lithium batteries, but compatibility must be verified in the product documentation. Check the charging profile, low-temperature behavior, communication requirements, and the battery management system before installation.
How do I know what size MPPT controller I need?
Review the total photovoltaic power, battery-charging voltage, expected charging current, maximum cold-weather Voc, PV short-circuit current, battery limits, and future expansion plans. Select a controller whose published limits cover the complete design.
Can I use a higher-voltage solar panel with a lower-voltage battery?
An MPPT controller may support this arrangement when the photovoltaic voltage, current, and power remain within its permitted limits. The exact series and parallel configuration must be checked against the controller datasheet.
Why does charging current change during the day?
Solar irradiance, cloud cover, panel temperature, shading, battery state of charge, charging stage, and system loads all affect charging current. A lower current is not automatically a fault when sunlight is weak or the battery is nearly full.
Should the solar panels or battery be connected first?
Follow the specific manufacturer’s manual because connection sequences can differ. Many battery-based controllers use a battery-first sequence so the unit can recognize the system voltage, but the supplied installation instructions remain authoritative.
Can I connect more solar panel power than the controller rating?
Some manufacturers permit limited array oversizing under defined conditions, while others do not. Never assume oversizing is acceptable. Check the model-specific maximum PV power, voltage, current, temperature conditions, and warranty terms.
Does an MPPT controller work when the sky is cloudy?
It can continue operating when sufficient photovoltaic voltage and power are available, but the charging output will normally fall as solar irradiance decreases. The result also depends on panel orientation, shading, temperature, and battery demand.
What information should I send to a controller manufacturer?
Provide the solar panel model and quantity, series and parallel layout, Voc, Isc, battery chemistry, battery voltage, expected loads, installation environment, communication needs, target market, certification requirements, and estimated order quantity.
Choose the Controller as Part of the Complete Solar System
An MPPT solar charge controller is not an isolated accessory. Its performance depends on the relationship between the photovoltaic array, battery bank, cables, protection devices, inverter, electrical loads, climate, and installation method.
Start with accurate electrical data, check every operating limit, follow the installation manual, and choose a supplier that provides clear documentation and responsive technical support. With the right system design, an MPPT controller can help use available solar energy more effectively while providing controlled battery charging for daily energy use, backup power, and off-grid applications.